1
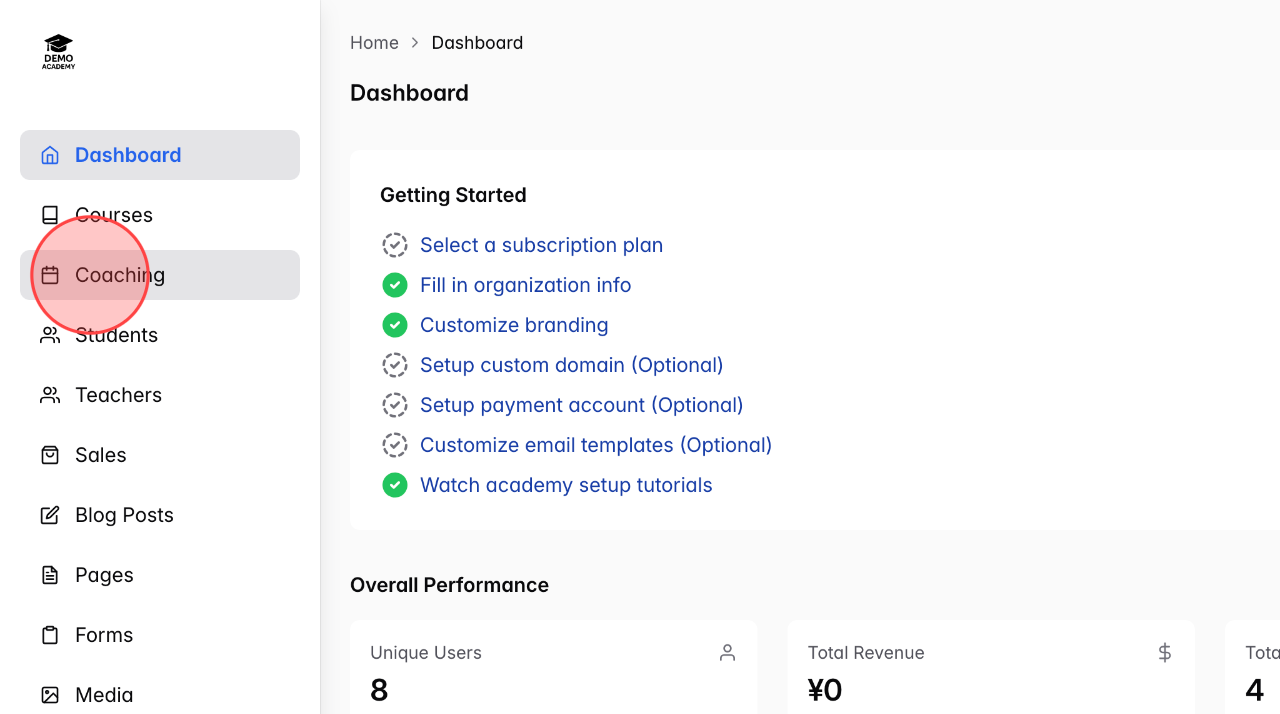
From the Admin Dasboard, click Coaching to open the coaching menu.
2
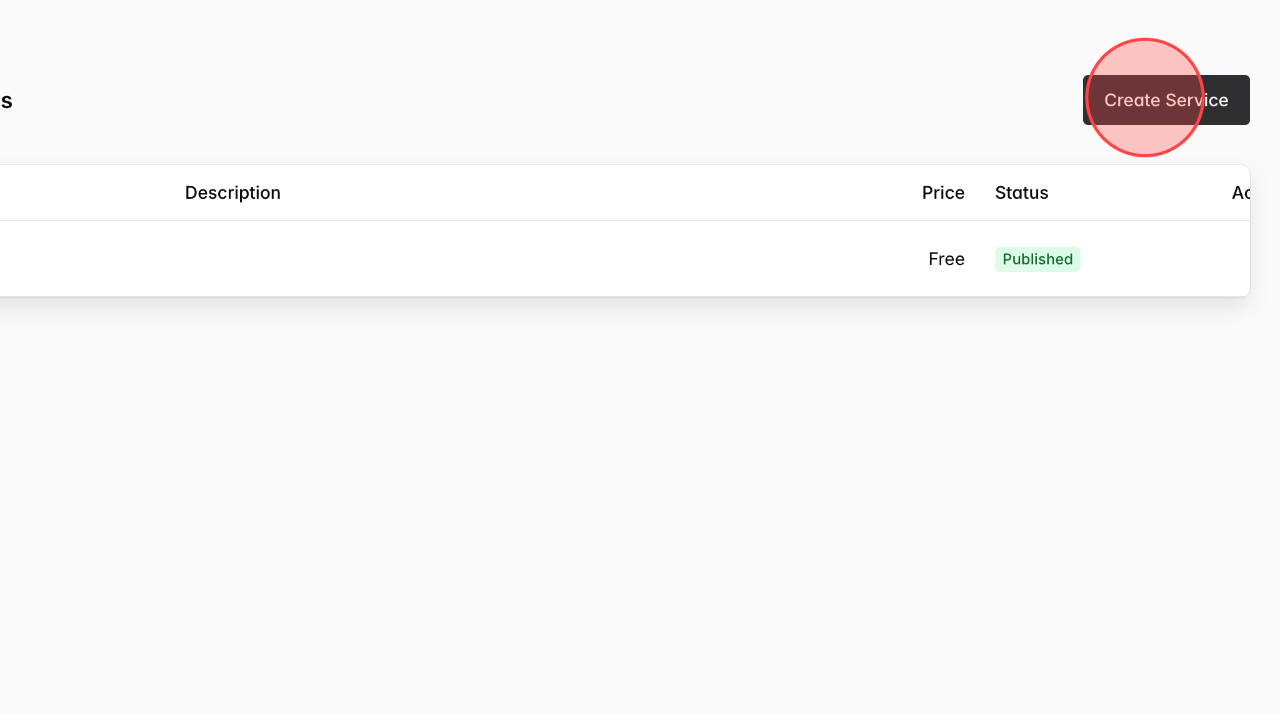
Click Create Service to set up a new service.
3
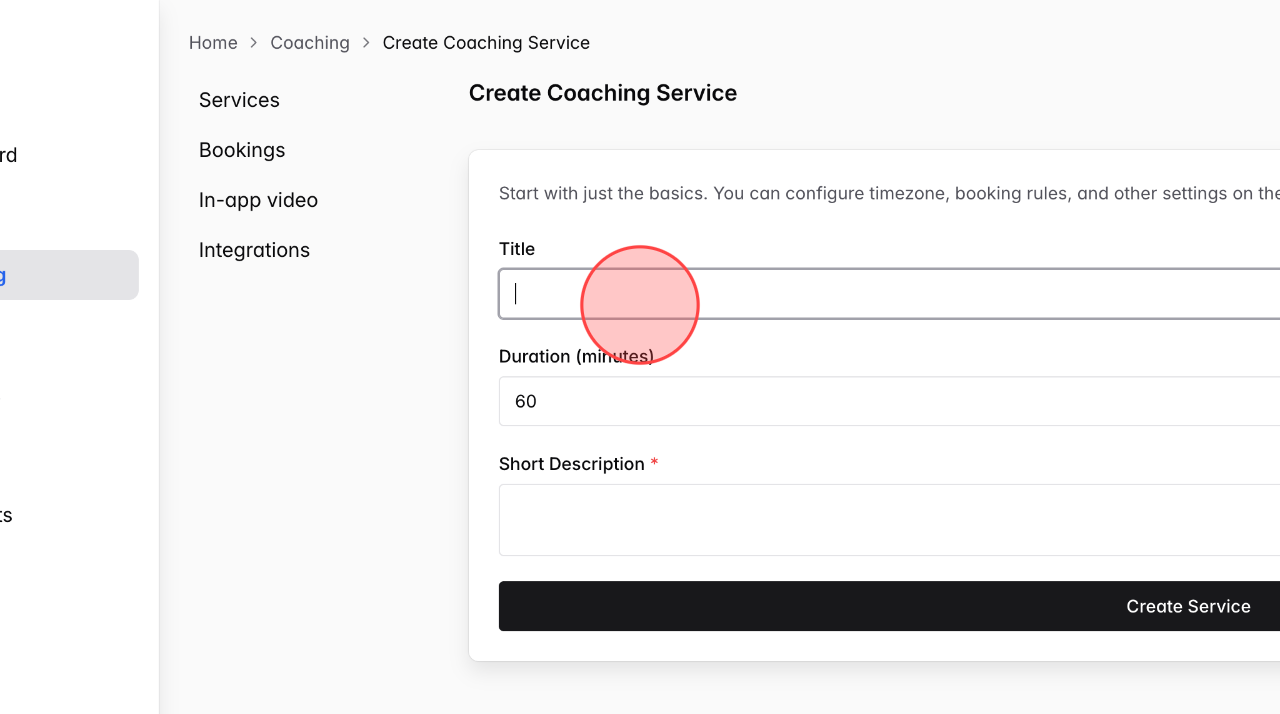
Enter the service name in the Title field.
4
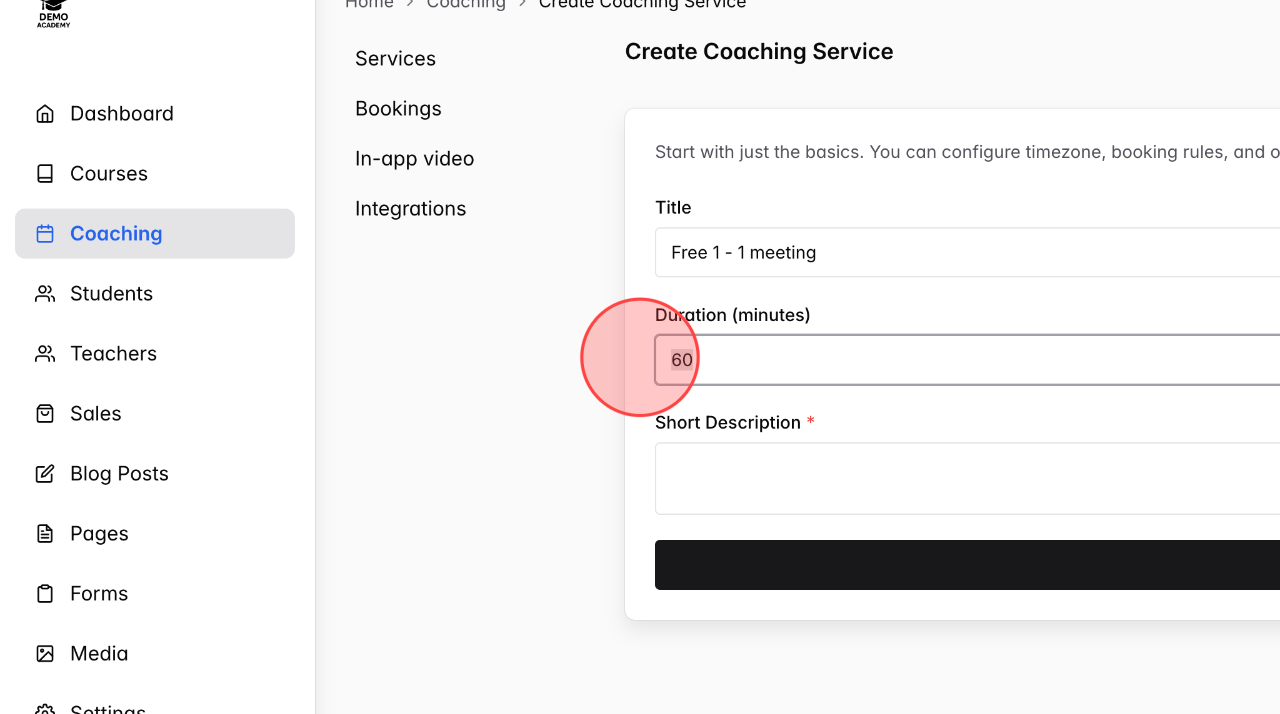
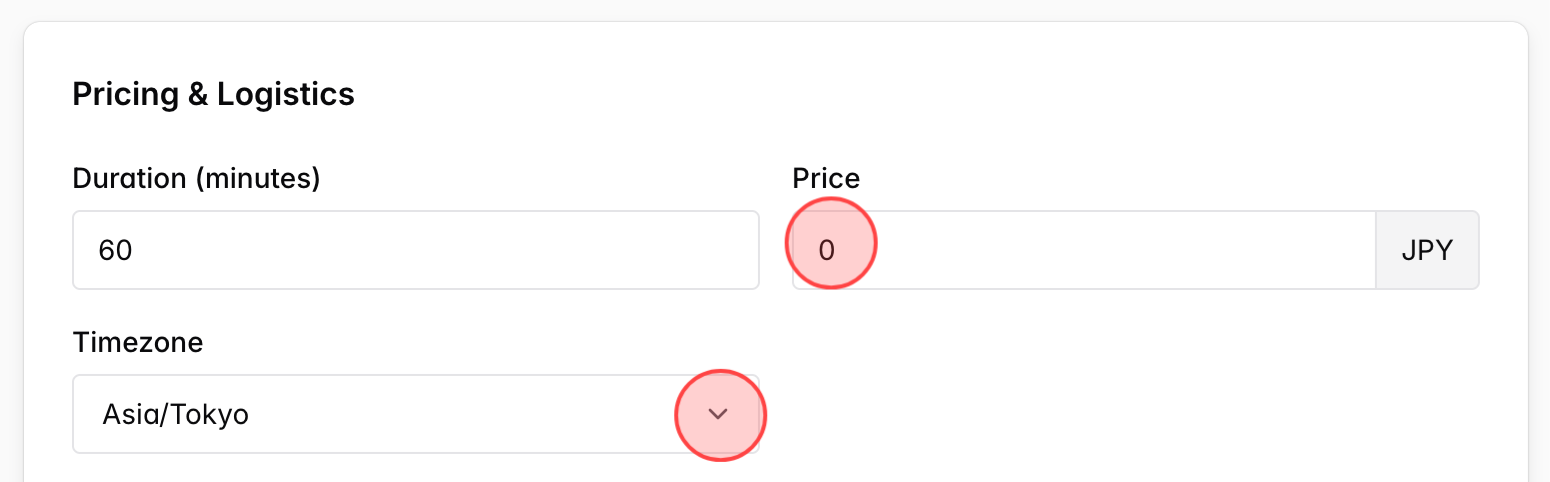
Set the call duration in the Duration (minutes) field.
5
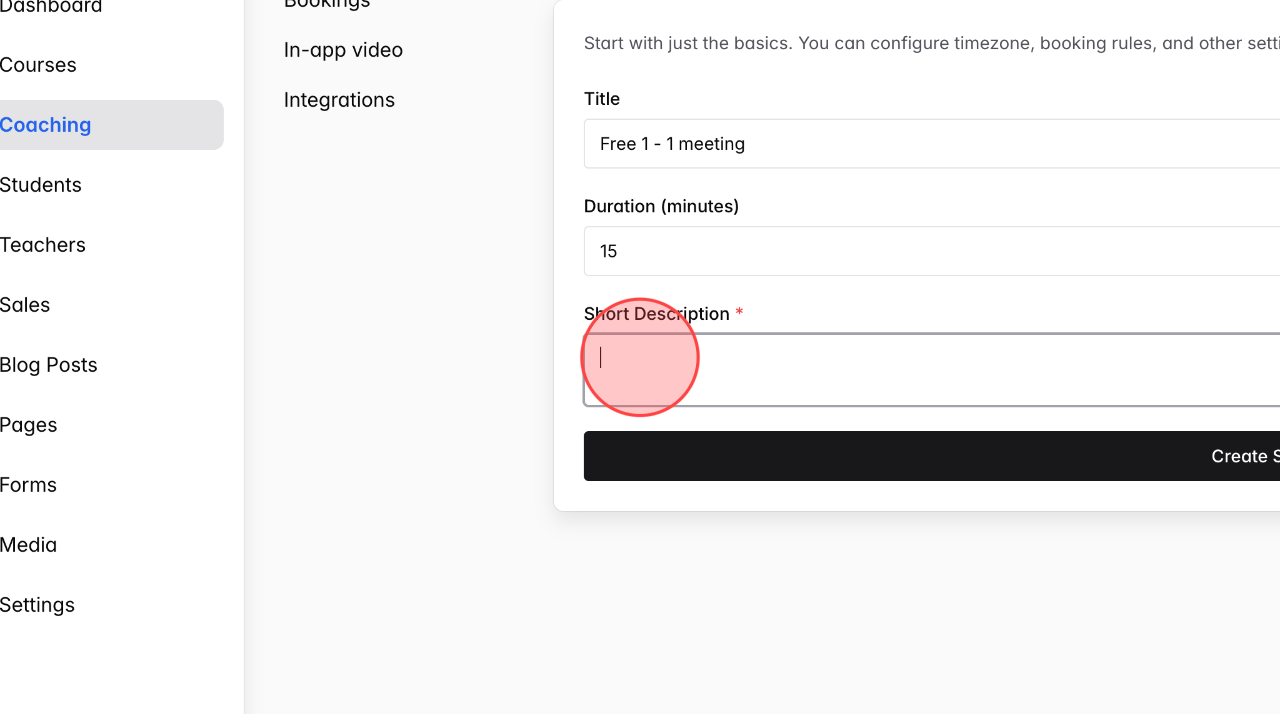
Enter a Short Description*
6
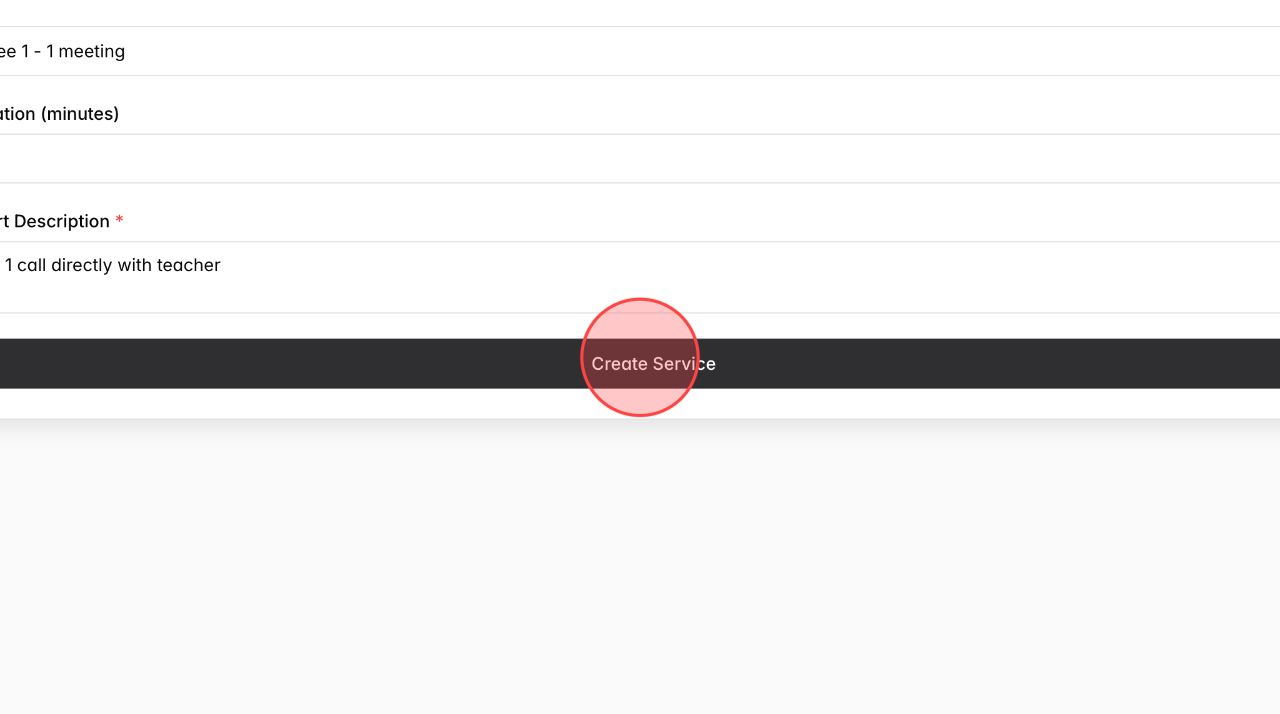
Click Create Service to complete the initial setup.
7
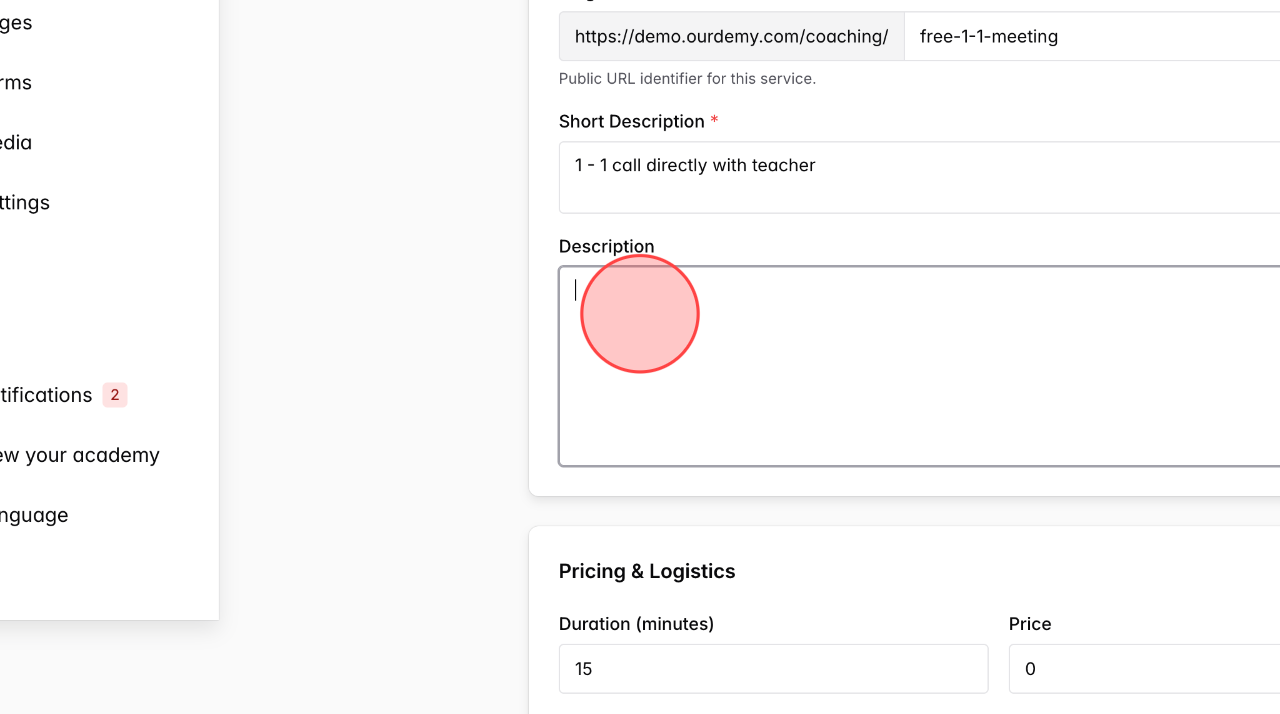
At this point, the screen will navigate to the Details page of the service. Start entering the Description in this field.
8
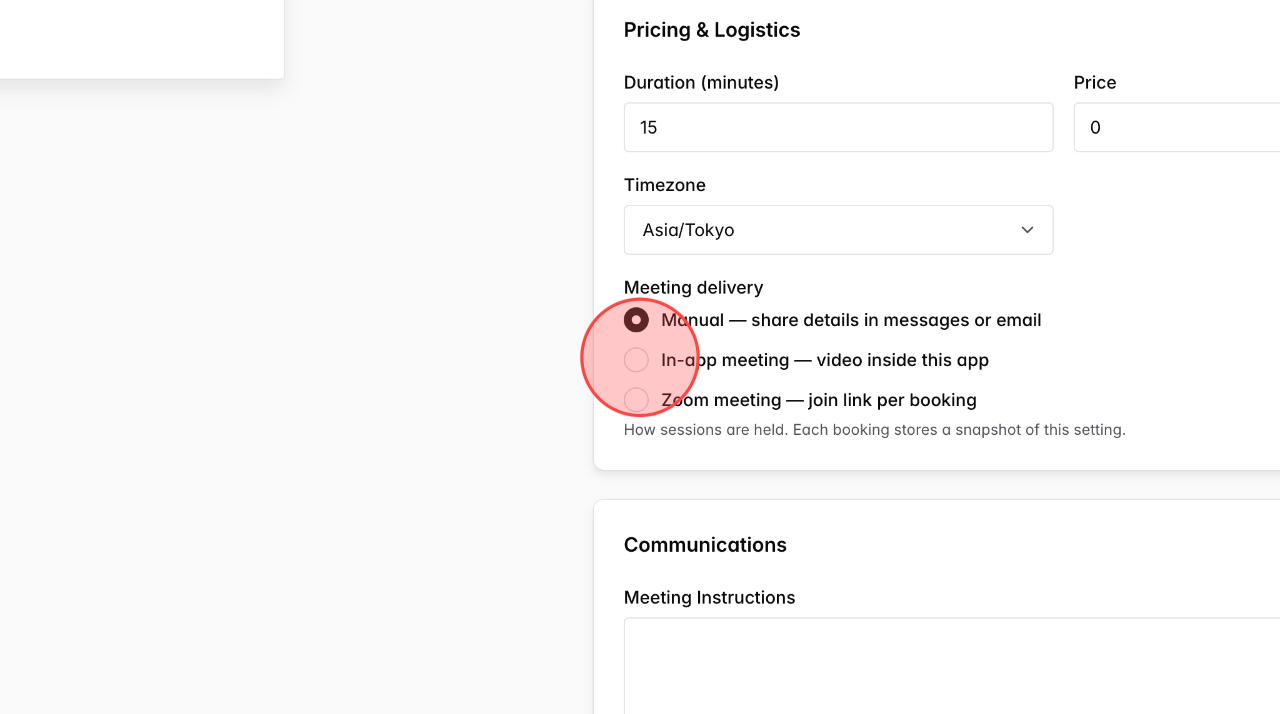
Set up the service Price and don’t forget to configure the Timezone.
9
Select the checkbox for the meeting delivery method you want to use.
Note:
– For In-app meeting, you need to purchase minutes balance to use this feature.
– For Zoom meeting, you must first integrate Zoom into the system.
10
Click Save to save the changes.

11
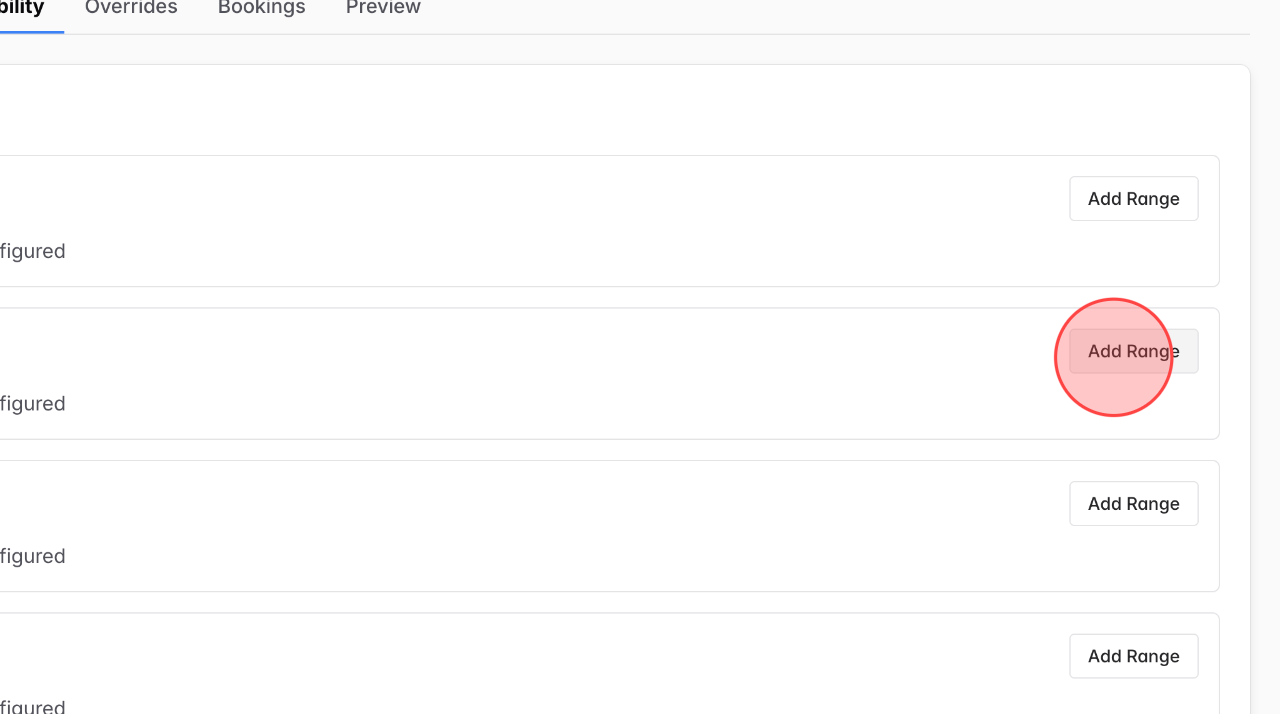
Click Availability to set your available time slots so students can book sessions.

12
Click Add Range on the day you’re available to set your time slots.
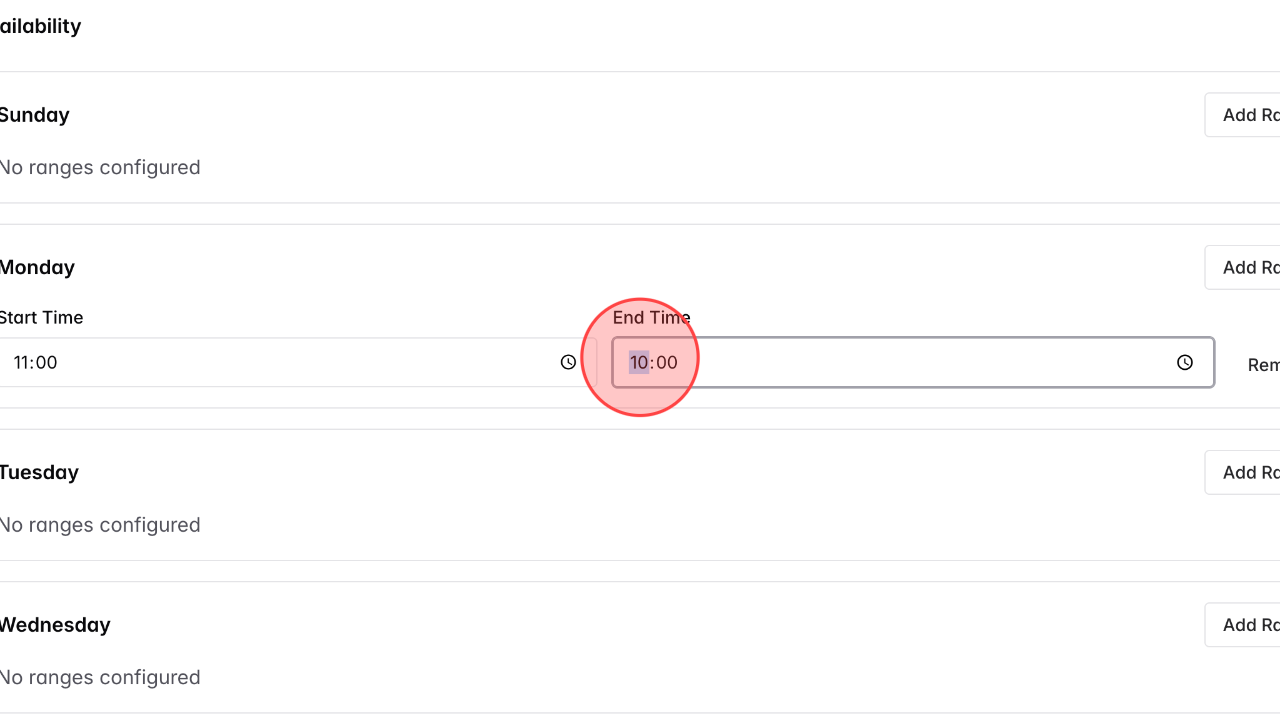
13
Click Start Time and add a time slot.
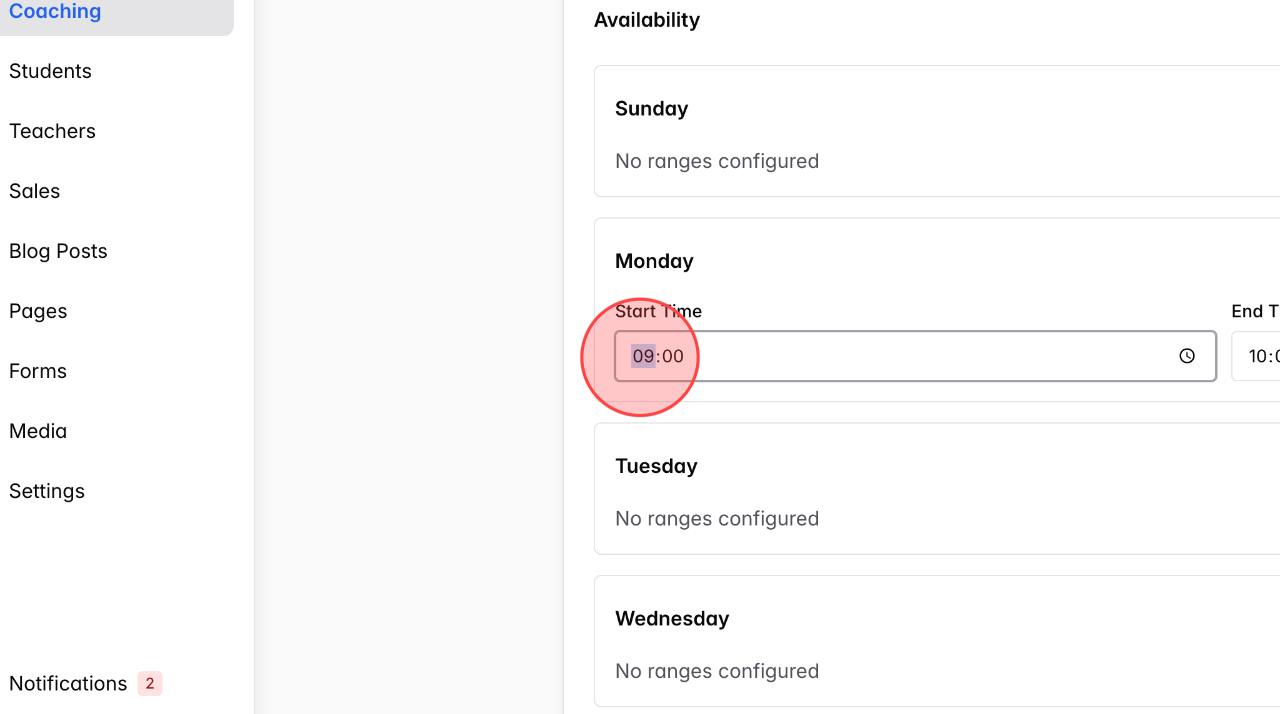
14
Click End Time and add a time to mark the end of your availability.
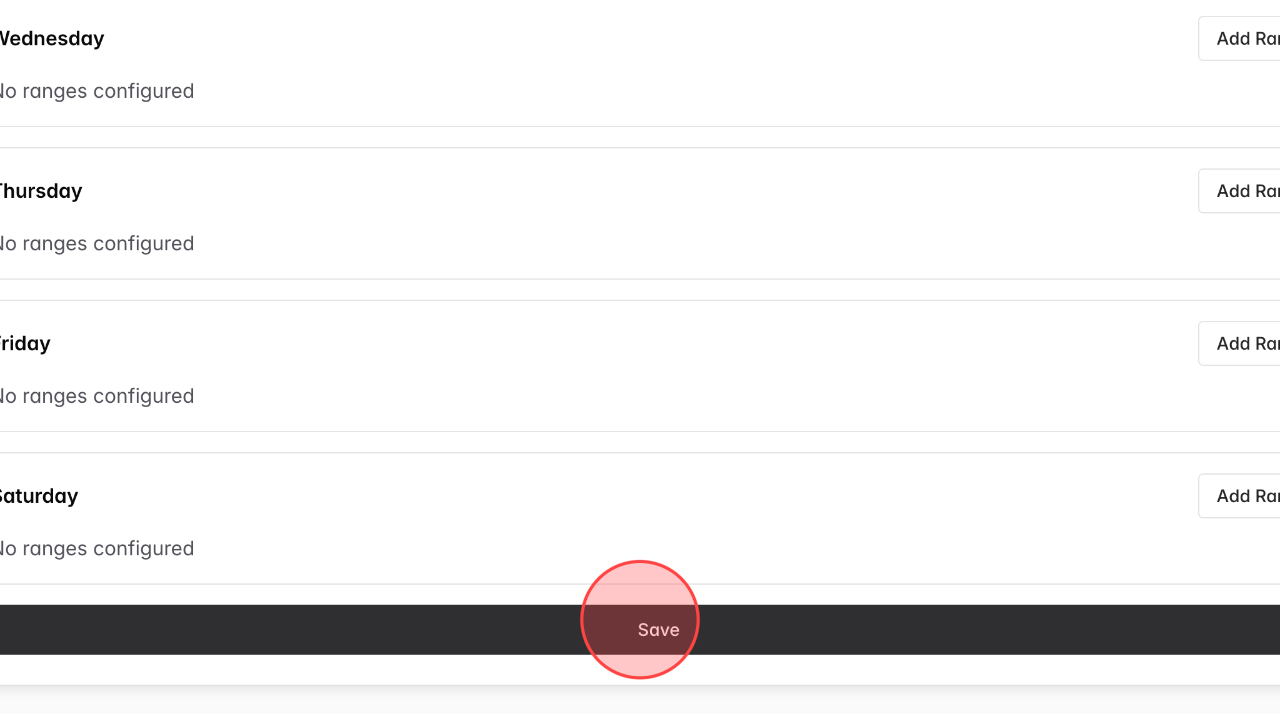
15
Click Save to end the availability setup.
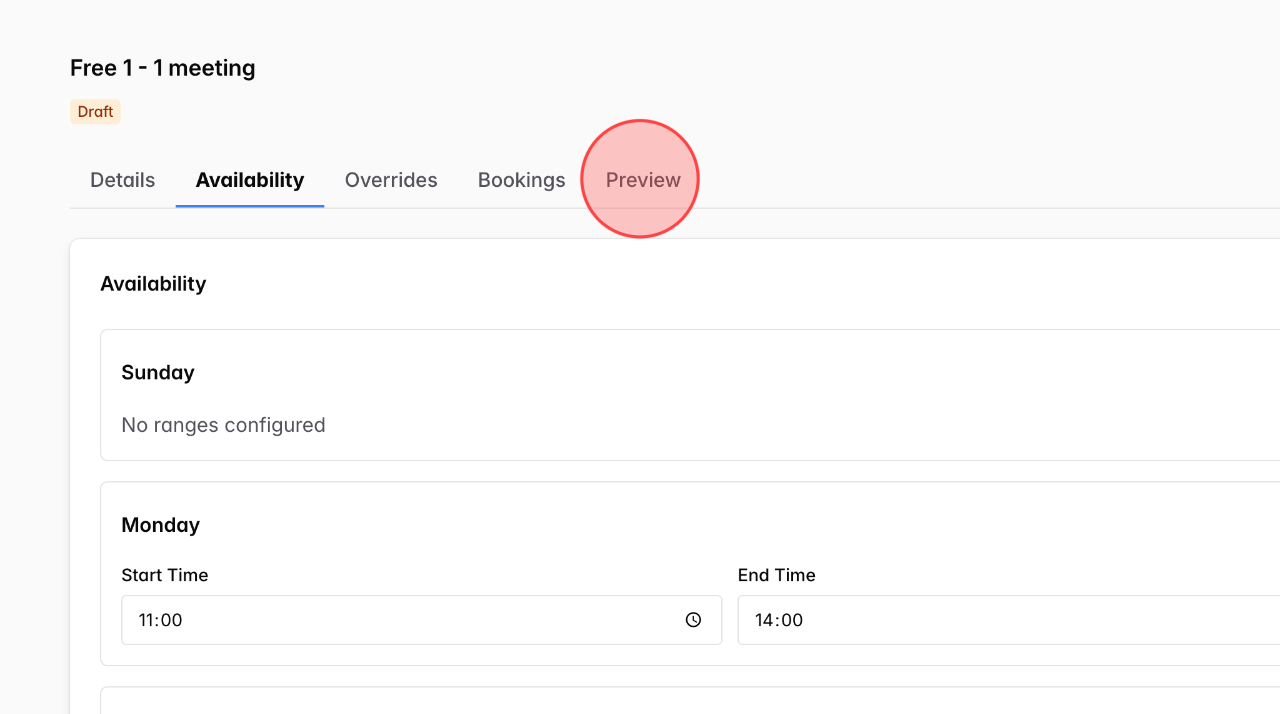
16
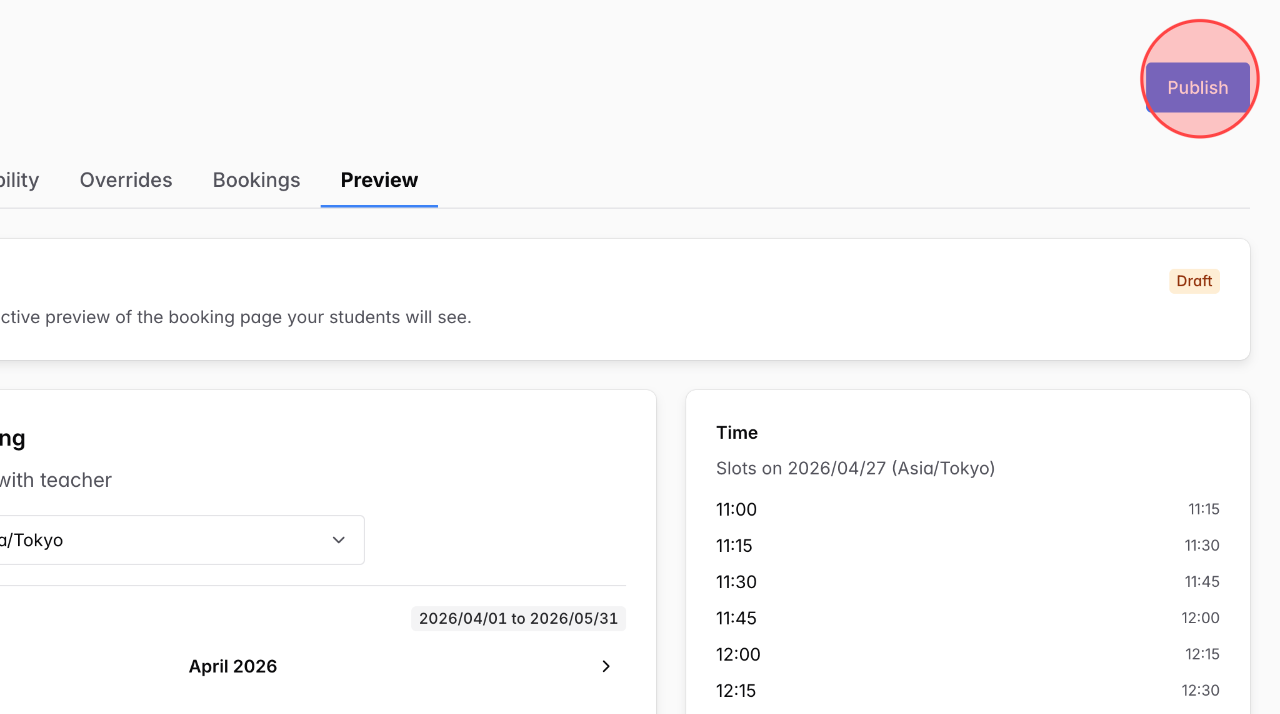
Choose Preview to review how your available time slots will appear on the students’ screen before publishing.
17
Click Publish to complete the setup and start receiving bookings.