1
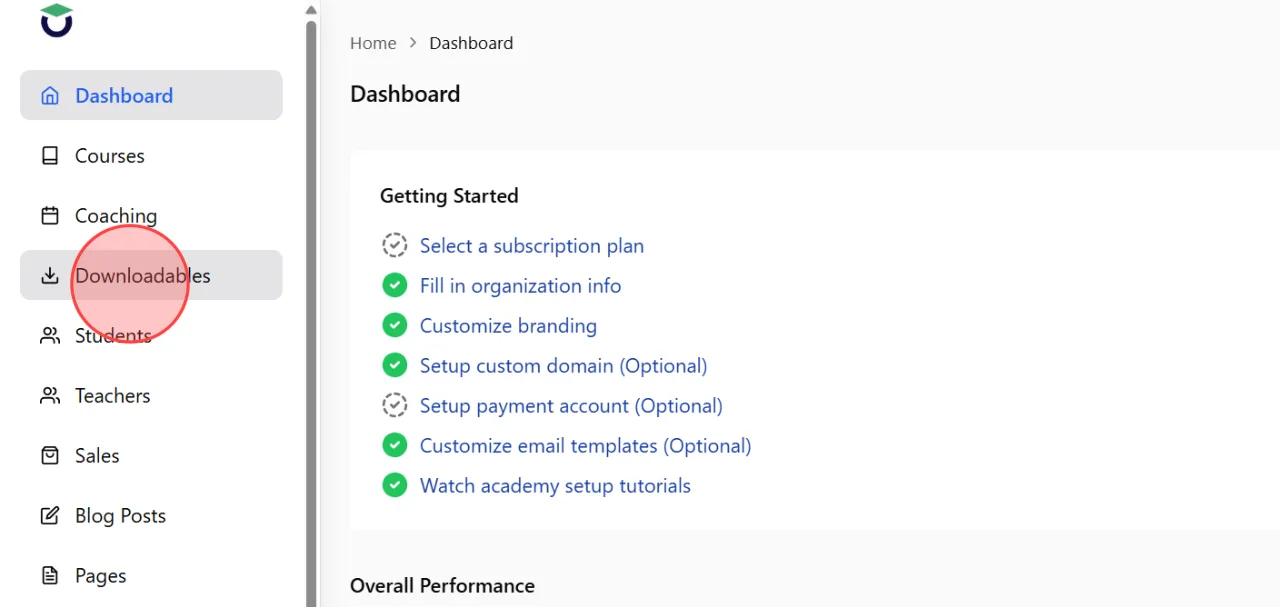
Go to the Downloadables section from the admin dashboard to open the downloadable product management page.
2
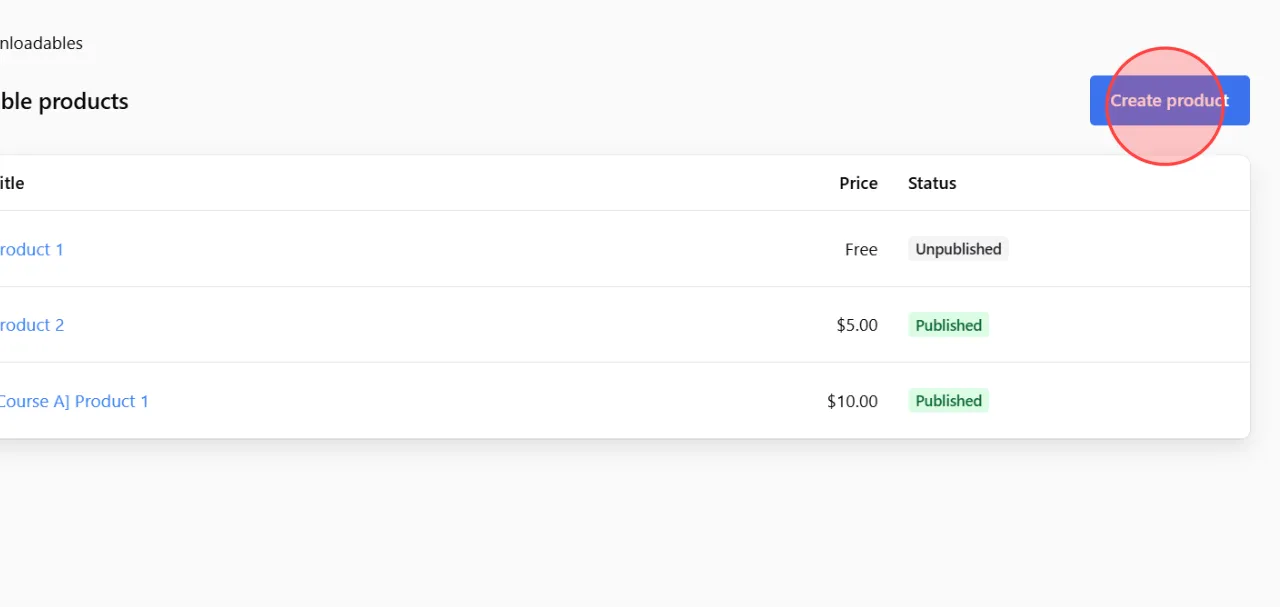
Click the Create product button to start creating a new downloadable product.
3
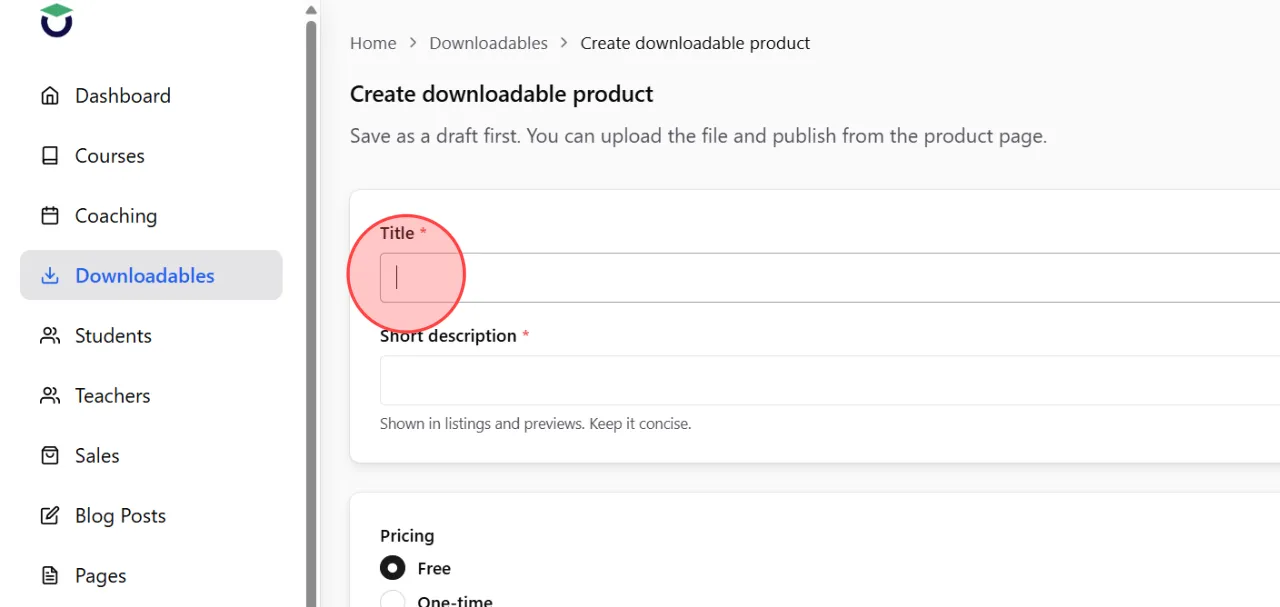
In the Title field, enter the name of your downloadable product.
Choose a clear title so students can easily understand the content.
Choose a clear title so students can easily understand the content.
4
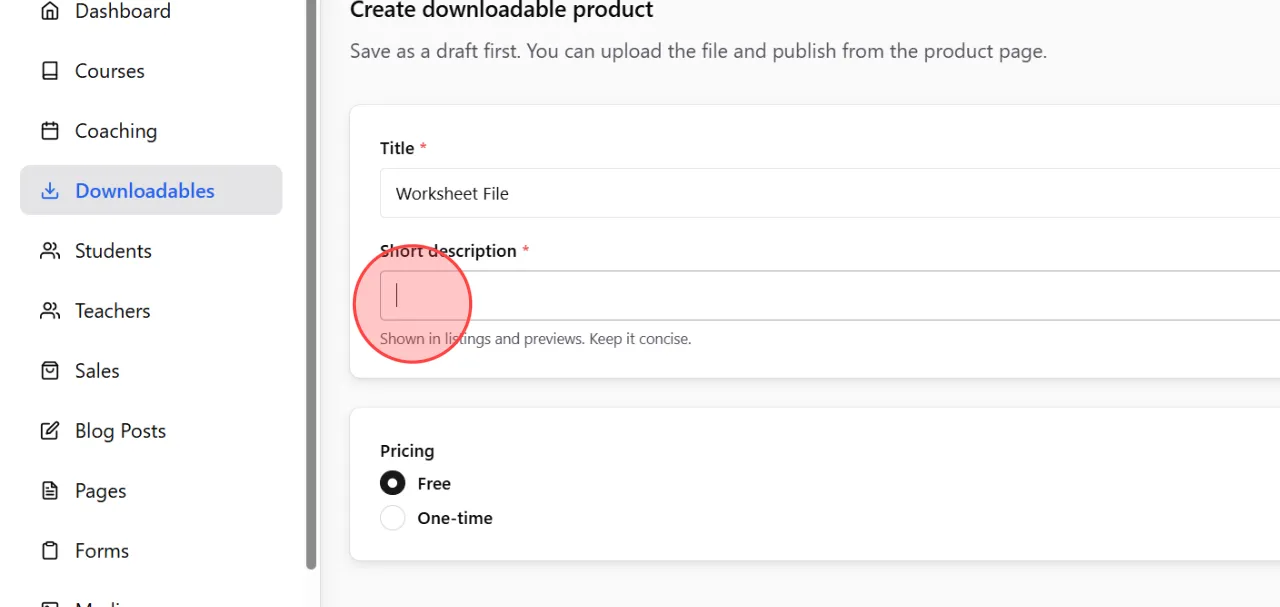
Add a short explanation in the Short description field.
This text is displayed in product listings, so it is recommended to keep it short and easy to read.
This text is displayed in product listings, so it is recommended to keep it short and easy to read.
5
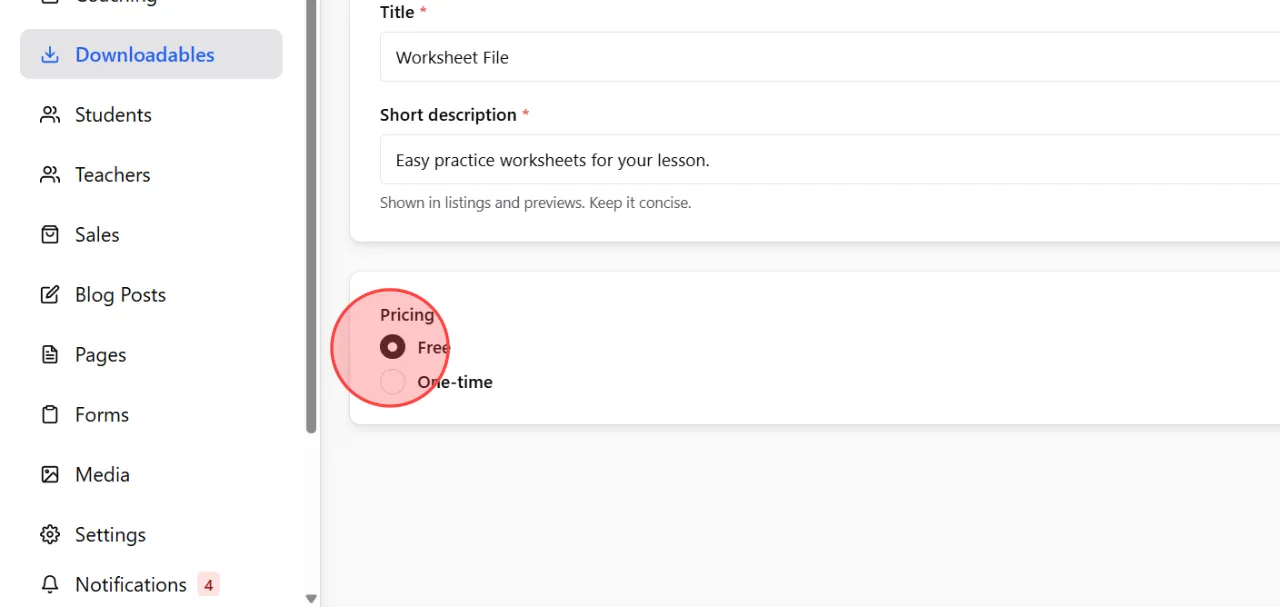
Under the Pricing section, select Free if you want users to download the file without payment.
6
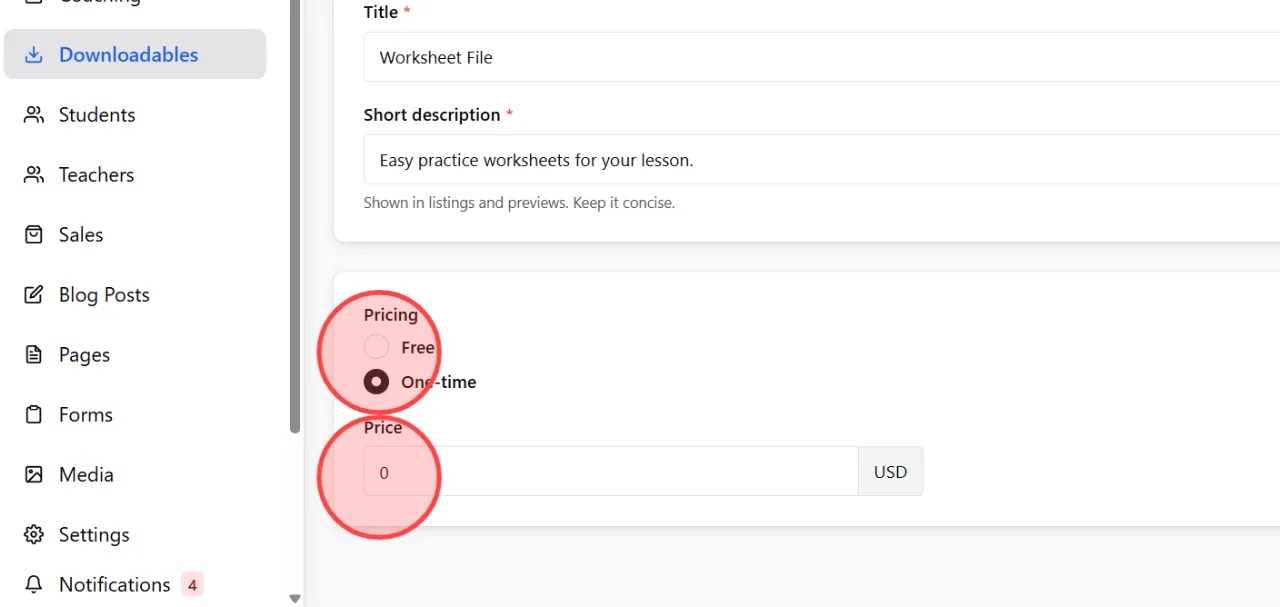
If you want to sell the file, select One-time and enter the product price.
Students will need to complete the purchase before they can access the download file.
Students will need to complete the purchase before they can access the download file.
7
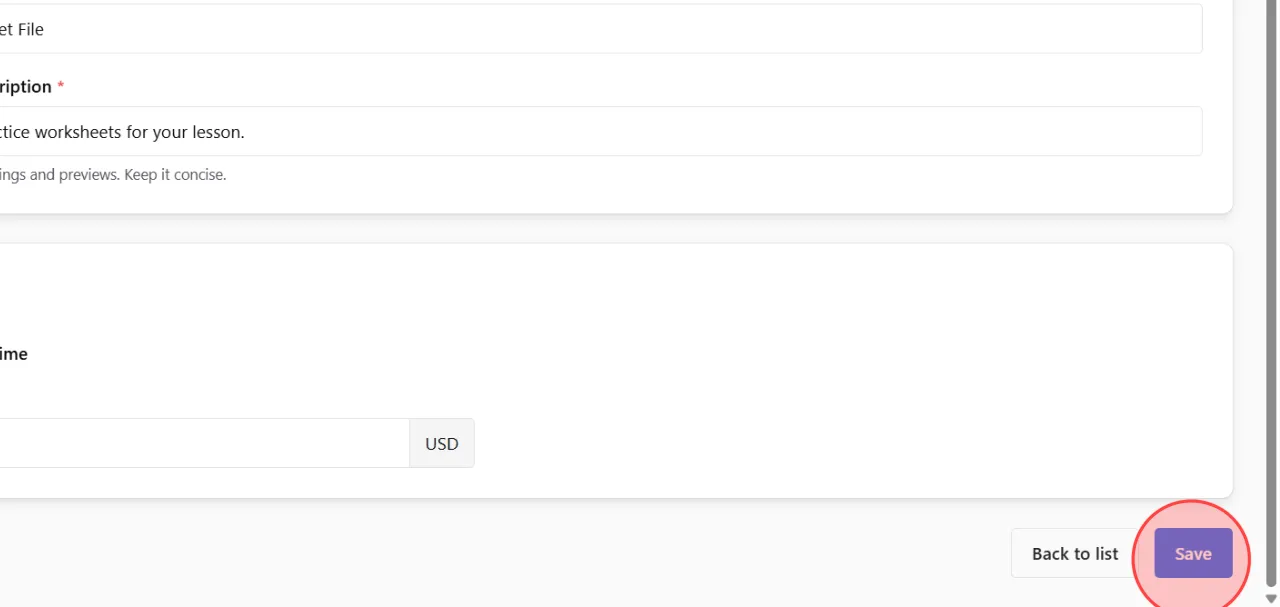
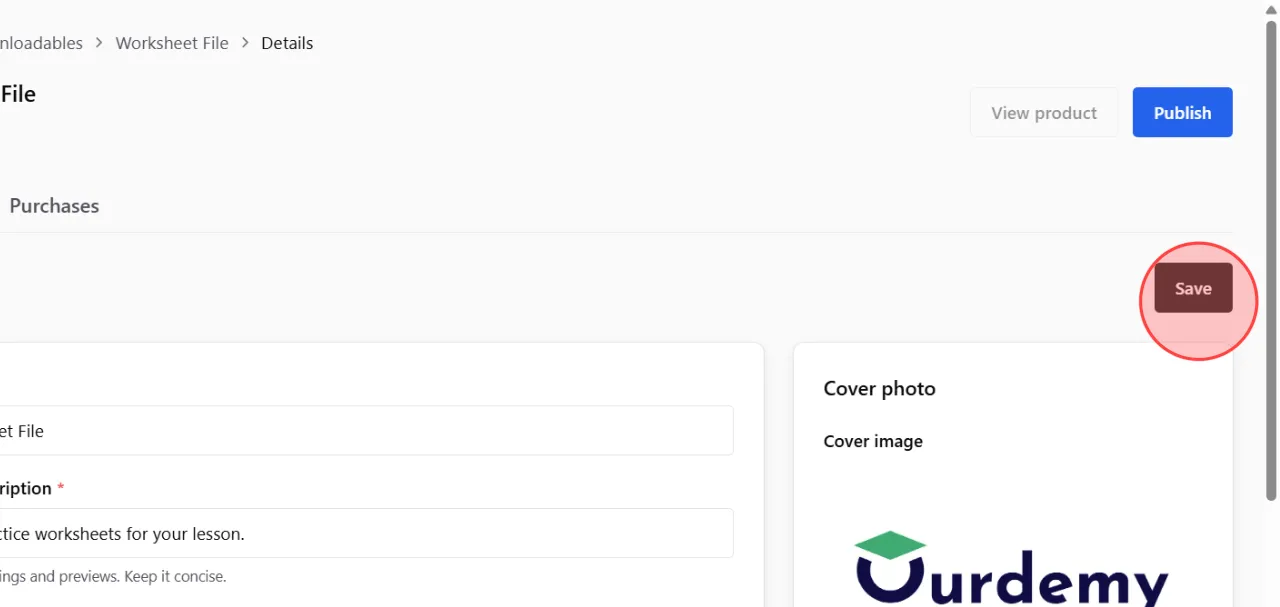
After completing the basic setup, click the Save button to continue to the detailed product settings page.
8
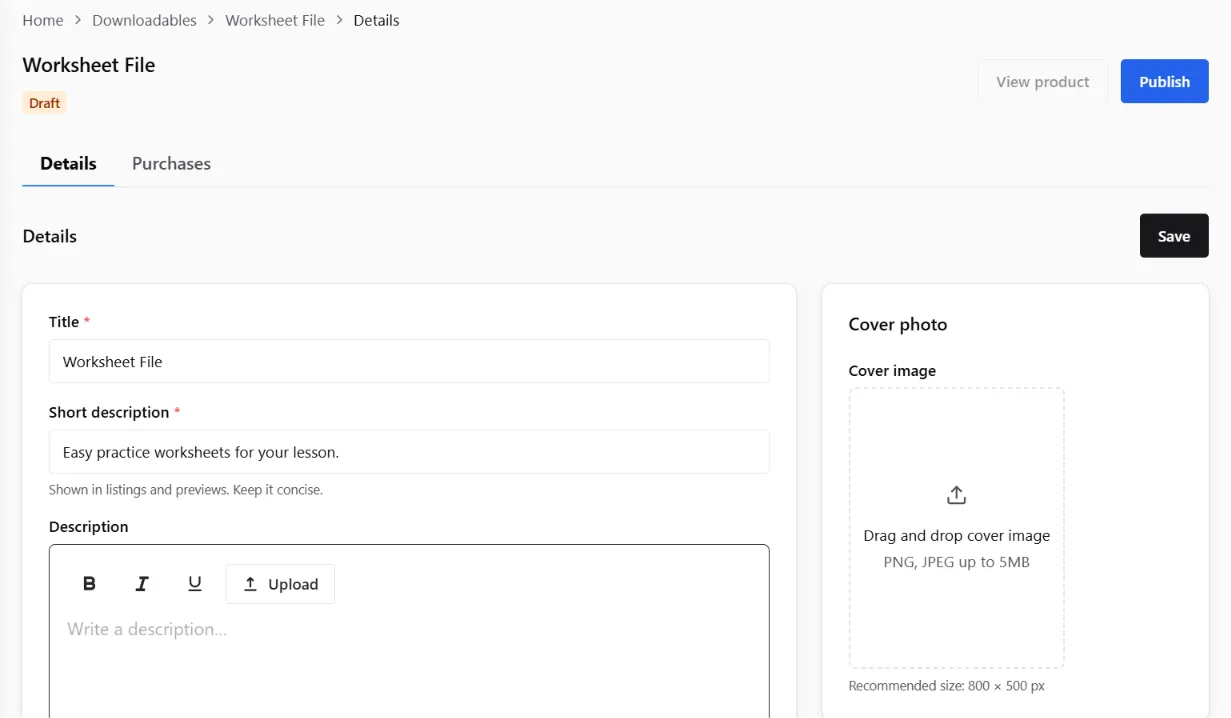
Once saved, the system will redirect you to a more detailed product editing screen.
9
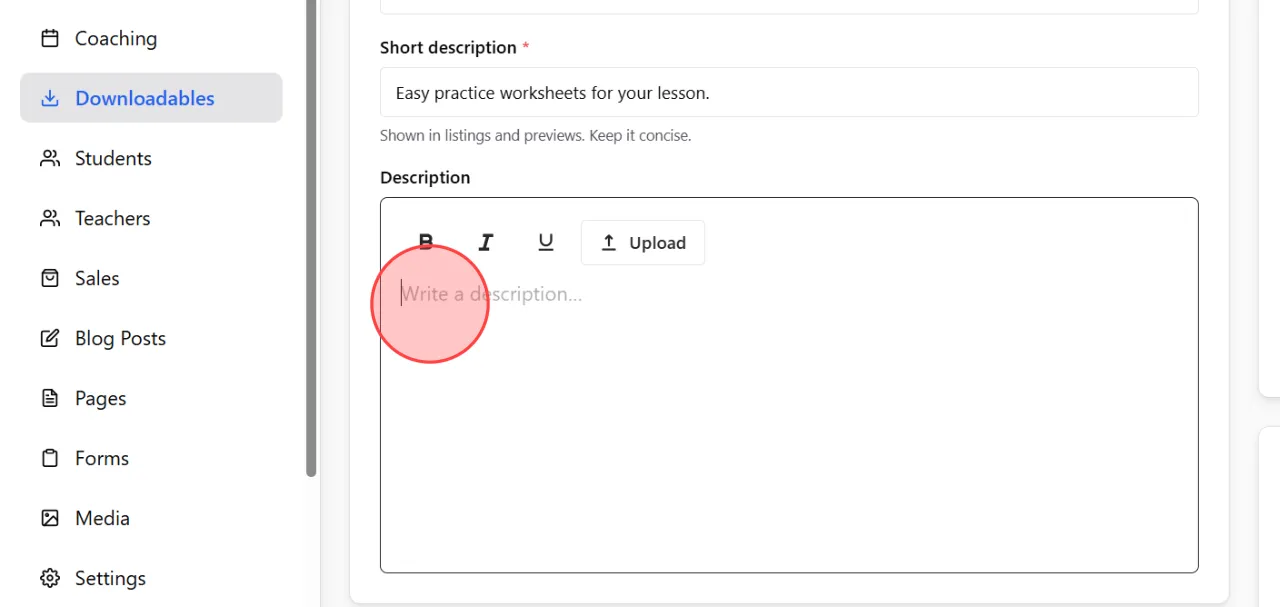
In the Description section, enter detailed information about the downloadable content, including what users will receive or learn from the file.
10
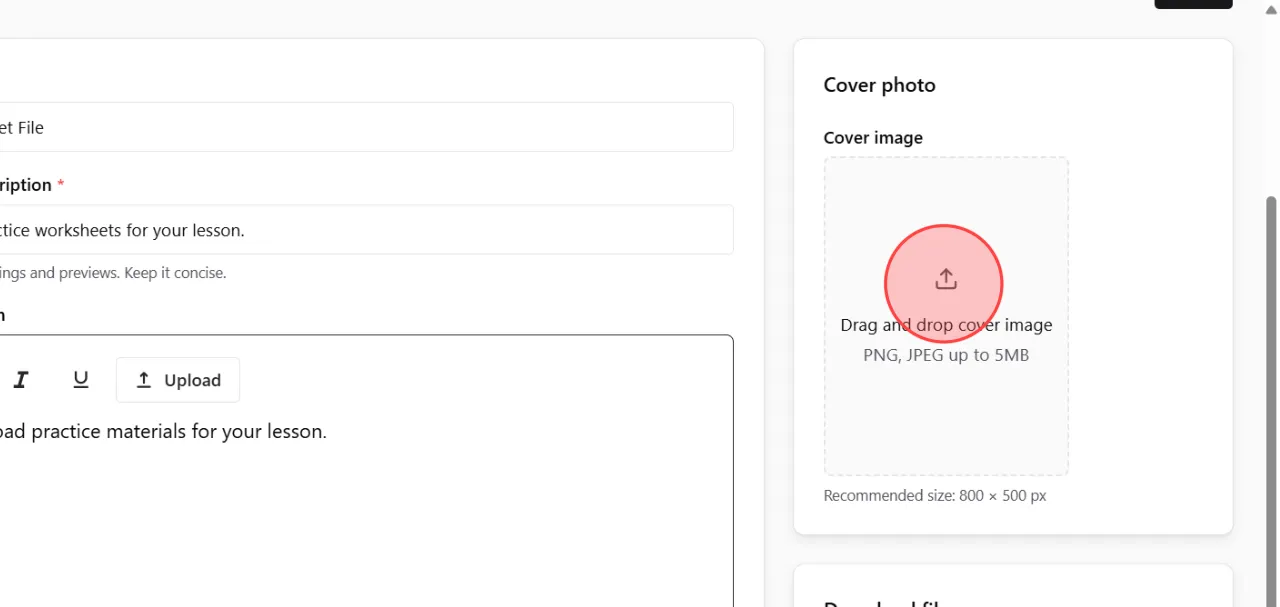
Upload a product thumbnail in the Cover photo section by dragging and dropping an image file.
11
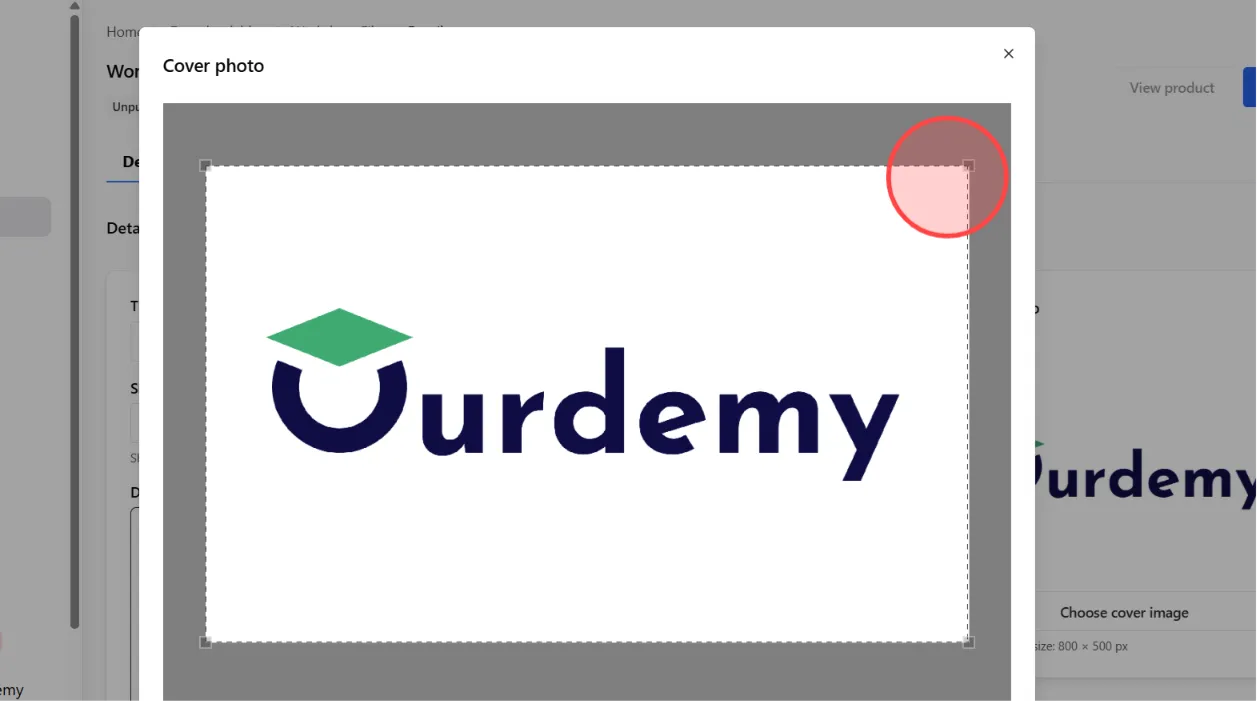
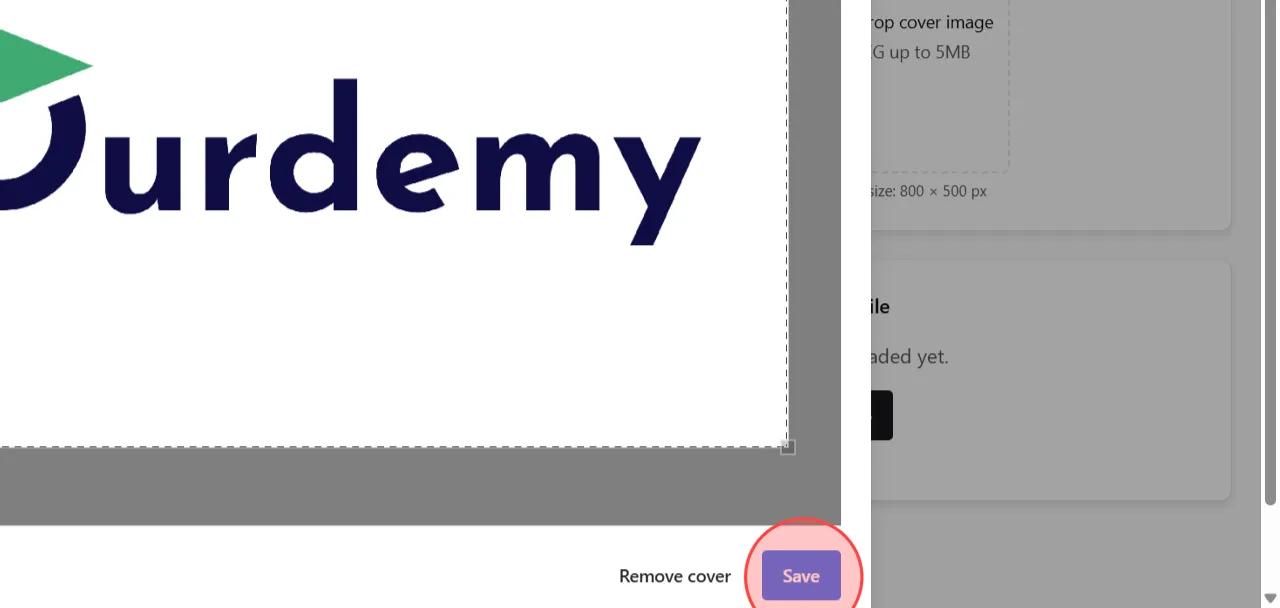
After the image upload is complete, you can adjust the visible image area using the arrow keys to fit the display properly.
12
Click the Save button to apply the cover image settings.
13
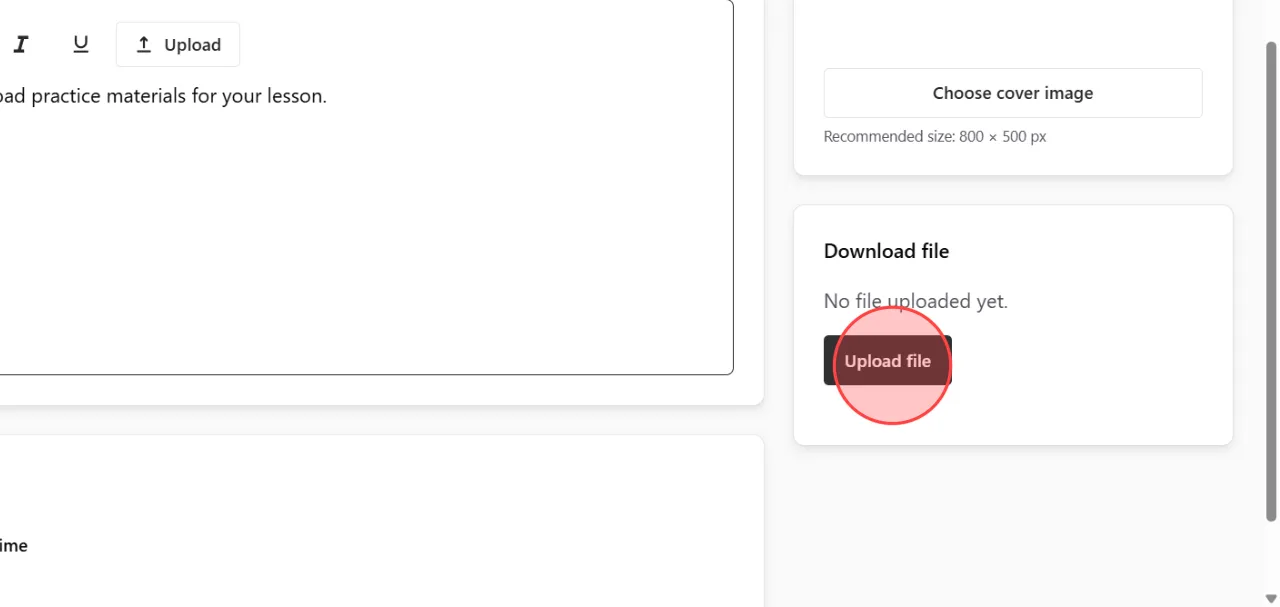
In the product file section, upload the downloadable file that users will receive after purchase or download.
This step is required before publishing the product.
This step is required before publishing the product.
14
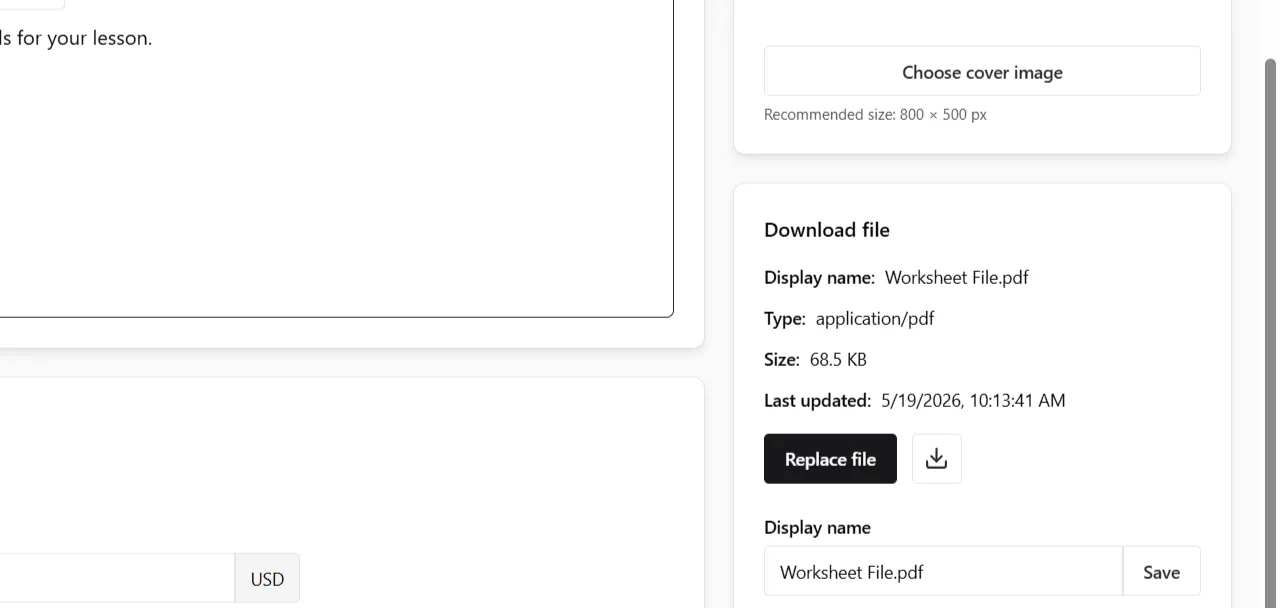
After the file upload finishes, the uploaded file name and information will appear automatically on the screen.
15
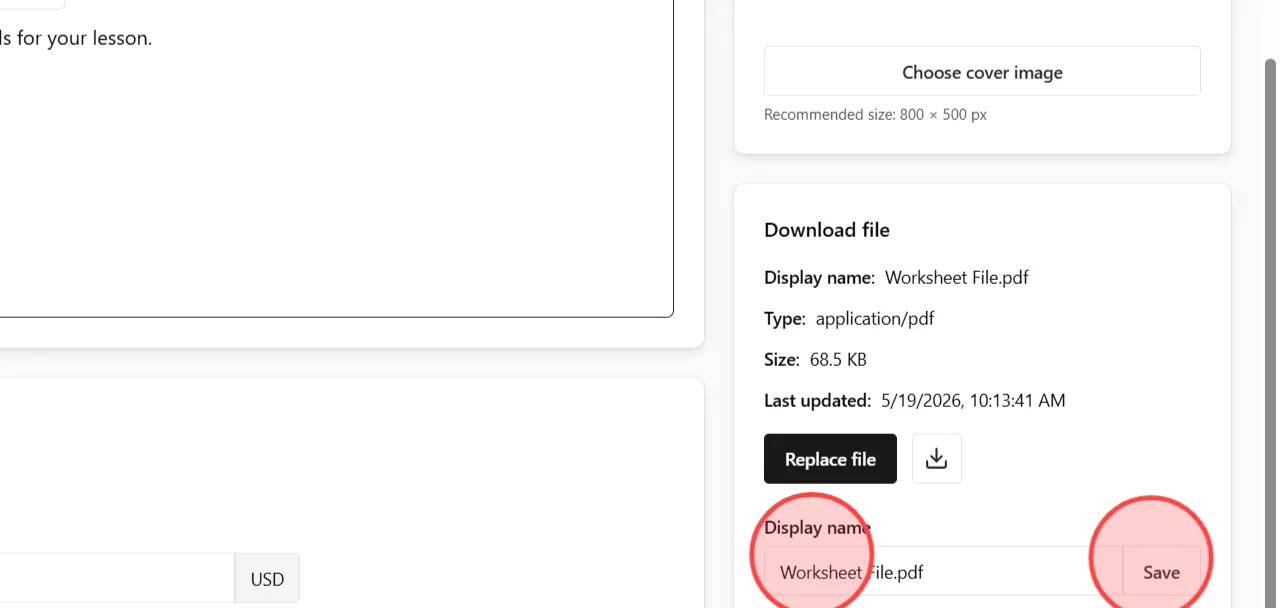
You can change the display file name in the Display Name field, then click the Save button to apply and save the updated file name.
16
Review all product details carefully, then click the Save button again to make sure all information is updated correctly.
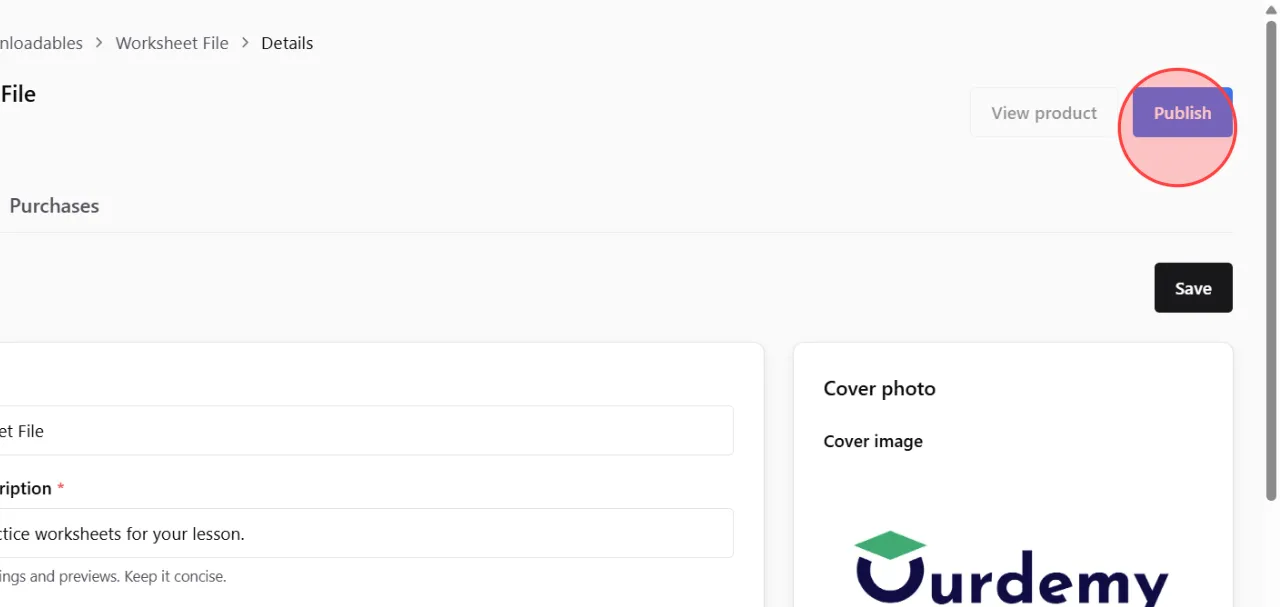
17
When everything is ready, click the Publish button to make the downloadable product publicly available on your academy website.